


Have you ever bought an Apple Watch and then had trouble removing or replacing the band, or accidentally damaged it by removing or attaching it incorrectly? Beyond technical issues , one of the most common questions after purchasing an Apple Watch is how to change the band. How do you remove and attach an Apple Watch band? If you have these questions, you definitely can't miss this article. We 'll show you step-by-step instructions on how to remove and attach an Apple Watch band.

How to replace the band on your Apple Watch
To learn how to change your Apple Watch band, you can learn from two aspects: removal and installation.
How to remove a watch strap
To accurately remove your Apple Watch band, follow these steps:
- Step 1 : Turn your watch over so that the sensor is visible. Place a soft cloth underneath the watch to protect the front screen .
- Step 2 : Press and hold the release button (thin oval button) on the top back of your Apple Watch . Note that you must hold down this button .
- Step 3 : Press and hold the release button on your Apple Watch band and slide the corresponding end of the band horizontally to remove it. Remember to slide it horizontally, not up or down. If you're holding down the top button, slide the top end of the band off, and if you're holding down the bottom button, slide the bottom end of the band off. Do not remove it the other way around.
- Step 4: Repeat step 3 to successfully remove the watch band from the other end of your Apple Watch .
How to reattach a watch strap
To reinstall or replace your Apple Watch band after removing it, follow these steps to complete the process flawlessly:
- Step 1 : Make sure the Apple Watch band you purchased is compatible with your Apple Watch , if it is not compatible, you will not be able to perform the steps below.
- Step 2 : Identify the front and back of the Apple Watch band you want to attach. Place the band so that the text faces you and the clasp faces outward.
- Step 3 : Insert the watch strap horizontally into the slot on the watch, when you hear a "click" sound, it means the strap is locked into the slot and in place.
- Step 4 : Try to pull the installed watch band. If the watch band cannot be pulled, the installation of the watch band is successful.
If you've completed the above steps , congratulations! You've learned how to remove and install an Apple Watch band. But don't rush! In addition to knowing how to remove and install an Apple Watch band, you also need to be aware of potential problems and precautions during installation.
Common issues when replacing your Apple Watch band
I can't push the watch strap into the slot.
When replacing your Apple Watch band, you may find that it won't fit into the slot or that it gets stuck halfway. This could be because the band is facing the wrong way (front to back, left to right), or because you didn't choose the correct size when purchasing the new band, which can prevent the band from fitting into the slot.
If this happens, do not forcefully pull or push the watch band. Simply press and hold the release button to remove the band, then turn it over and slide it smoothly back into the slot. This should solve the problem. If the problem persists, please make sure you have not purchased the wrong size.
I didn't hear a "click" when the installation was complete.
If you don't hear the "click" sound after putting the watch on, there are two common reasons: the watch strap isn't properly inserted or the watch's internal clasp isn't raised.
If this happens to you, don't worry. After you slide the watch band all the way down, gently shake it from side to side to make sure it's secure. If the watch band is tight enough, it's installed correctly. Some watch bands are quieter, so a silent installation doesn't necessarily mean it's not installed correctly.
After installation, the watch band is loose.
If your watch band is loose after installation or there is a gap in the slot after installation, it may be because the watch band is not installed correctly, the clasp is not engaged, or you purchased a third-party watch band of the wrong size.
In this case, you can remove and reinstall the watch band to ensure it is installed correctly. If it is not the correct size, consider purchasing a new band of the correct size. Forcing it will only damage your watch.
Pressing the button does not remove the watch strap.
A stuck watch band is the most worrying situation, but there is no need to panic. Do not try to force the band open or push it with other metal objects. In this case, you should consider whether the release button is pressed, whether there is a foreign object stuck in the slot, or whether the band is deformed.
If this happens, press and hold the strap release button to ensure the strap is not locked. At the same time, gently slide the strap back and forth. If necessary, you can gently push the strap in with your fingernail. Do not pry with any metal part to avoid damaging the strap slot.
I'm worried about scratching my watch
Normal watch disassembly and assembly processes will not scratch your watch. If scratches do occur, they may be caused by rough metal straps or other metal parts. During assembly, do not push or pull the watch forcefully. Also, do not push or tighten the watch with metal parts. When purchasing a metal strap, also pay attention to whether the watch head is smooth.
What not to do when changing your Apple Watch band
First, never forcefully pull on a watch strap without pressing the release button . This is the most damaging action to your watch. Watch straps are secured internally by a clasp, and forcing it or pulling it without pressing the release button can scratch or damage the clasp. Always press and hold the release button before attaching or removing a watch strap.
Next, try pulling the watch band vertically upwards and forcing it back if it gets stuck . Because the Apple Watch band has a horizontally sliding rail structure, pulling it vertically upwards is the wrong direction and may cause the band to deform. Forcing it in will only damage the buckle and slots and will not help you install the watch at all.
Third, do not use metal tools to pry open your watch band or buttons . Do not use metal tools such as paper clips, screwdrivers, or knives to pry open or pry open your watch band. These tools can cause irreversible damage to the watch band slots. If you absolutely must pry them open, consider using your fingernail or a piece of plastic.
Fourth, don't mix strap sizes . 38mm , 40mm , and 41mm straps are compatible, as are 42mm , 44mm , 45mm , and 49mm straps. However, avoid mixing straps of different sizes, as this can cause the watch to not stay securely in place and may come off during use.
The fifth is wearing a watch with a loose strap . This is the easiest way for a strap to come loose. In the worst case scenario, wearing a watch with a loose strap can not only cause the strap to come off, but can also damage the entire watch.
Sixth, avoid changing your watch strap on a hard surface like a desktop or floor . Removing or attaching the strap in this environment increases the risk of the strap coming loose and damaging your watch screen.
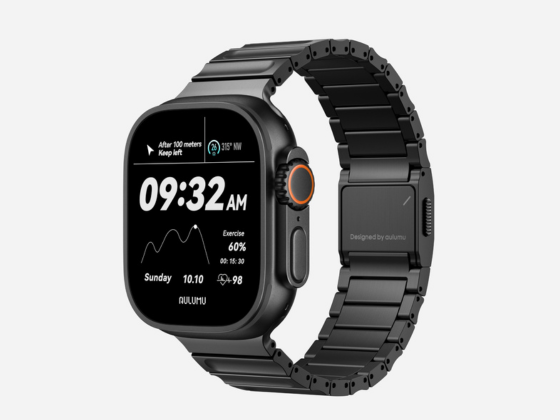
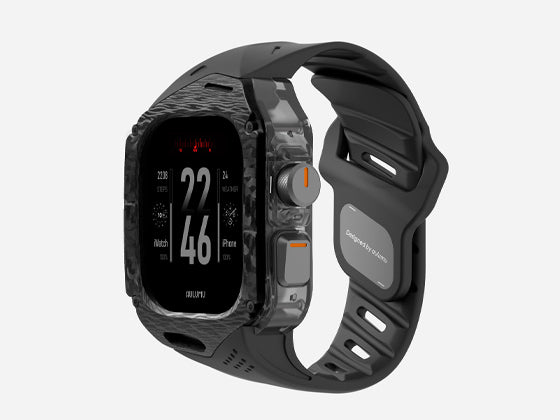
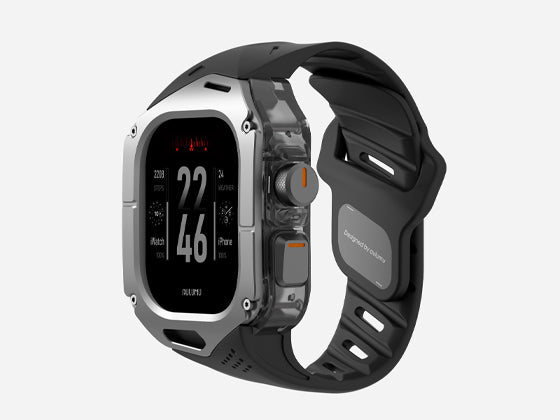
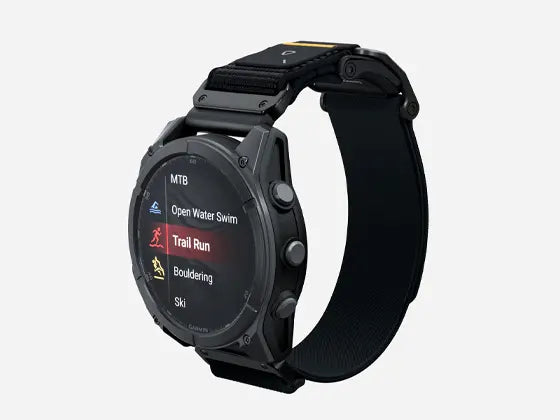
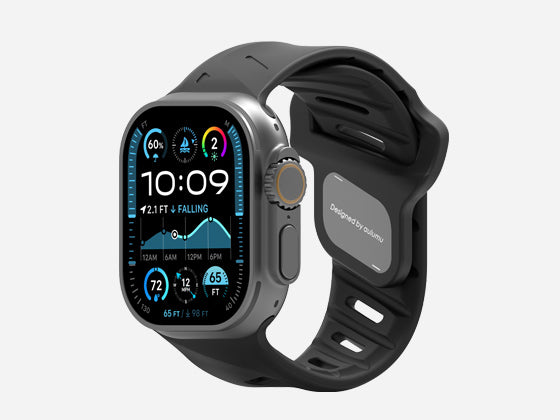
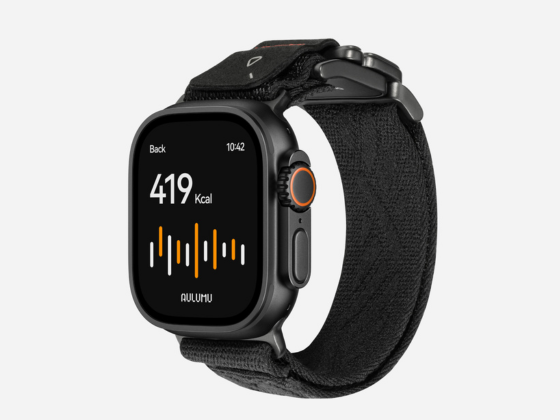
Once you've mastered how to change and remove your watch band, consider purchasing a new one for your Apple Watch . You can choose the right band for different occasions. A ulumu 's various materials accommodate a variety of needs. The C01 titanium alloy band has a luxurious metallic finish and is ideal for business occasions. The A01 and A02 fluoroelastomer bands have a porous structure that absorbs sweat during exercise and makes cleaning easy afterward. The A11 and C03 nylon bands are made of soft, skin-friendly nylon material, making them ideal for everyday wear and comfortable on the wrist. 
summary
Replacing your Apple Watch band isn't difficult. Whether you're disassembling or installing it, you can easily replace it by following the steps one by one. After reading this article, any questions you may have about replacing your Apple Watch band will be answered. Once you've learned how to disassemble and install the band, you can purchase multiple bands to suit your style and needs. If you haven't purchased a new band yet, check out Aulumu 's band series. You're sure to find one that suits your needs.